Tuscan Grouper with White Beans

codandcapers_grouper_reciper-9

(All photos in this post are by LibbyVision.com)


One of my favorite go-to recipes is Tuscan Shrimp with White Beans from Michael Chiarello and the Food Network.  I almost always have the ingredients on-hand and it’s a quick recipe that you can pull together in no time.  It’s especially nice on chilly evenings.  This recipe has some heat to it, but you can very easily omit that if spicy isn’t your thing. This is grain-free, gluten-free, and so delicious!  If the Basil is a little bit too much for you, use fresh Baby Spinach leaves.

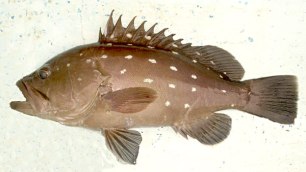
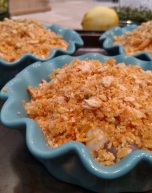
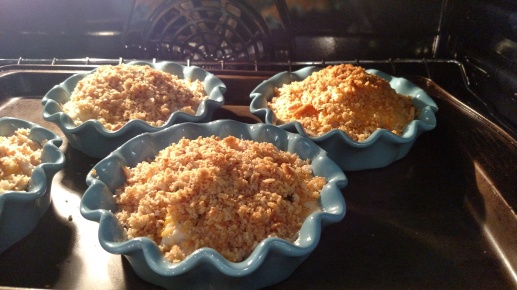
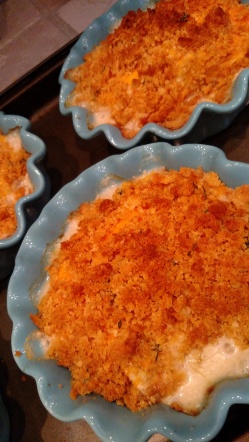
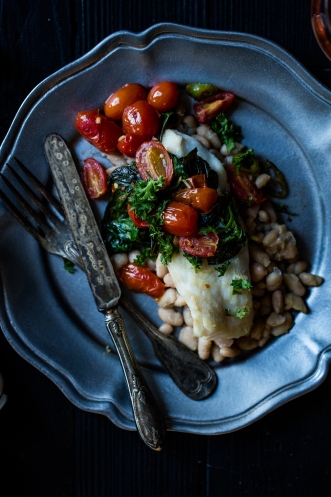
Our talented friend Libby from LibbyVision.com was looking for something to make with some beautiful local Red Grouper last week; she had white beans and tomatoes on hand and loves spicy food.  I sent her the link to the Tuscan Shrimp recipe and told her that it would be a great place to start.  She used it as inspiration and built her own delicious meal using the recipe as a guideline.  Not only did she create a delicious meal, but she also took some absolutely stunning photographs of it to share with you.


Tuscan Grouper with White Beans  (Serves 2)
(Adapted from Tuscan Shrimp with White Beans by Michael Chiarello)

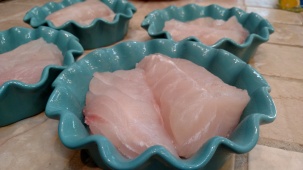
  • 1 pound fresh Grouper Fillet
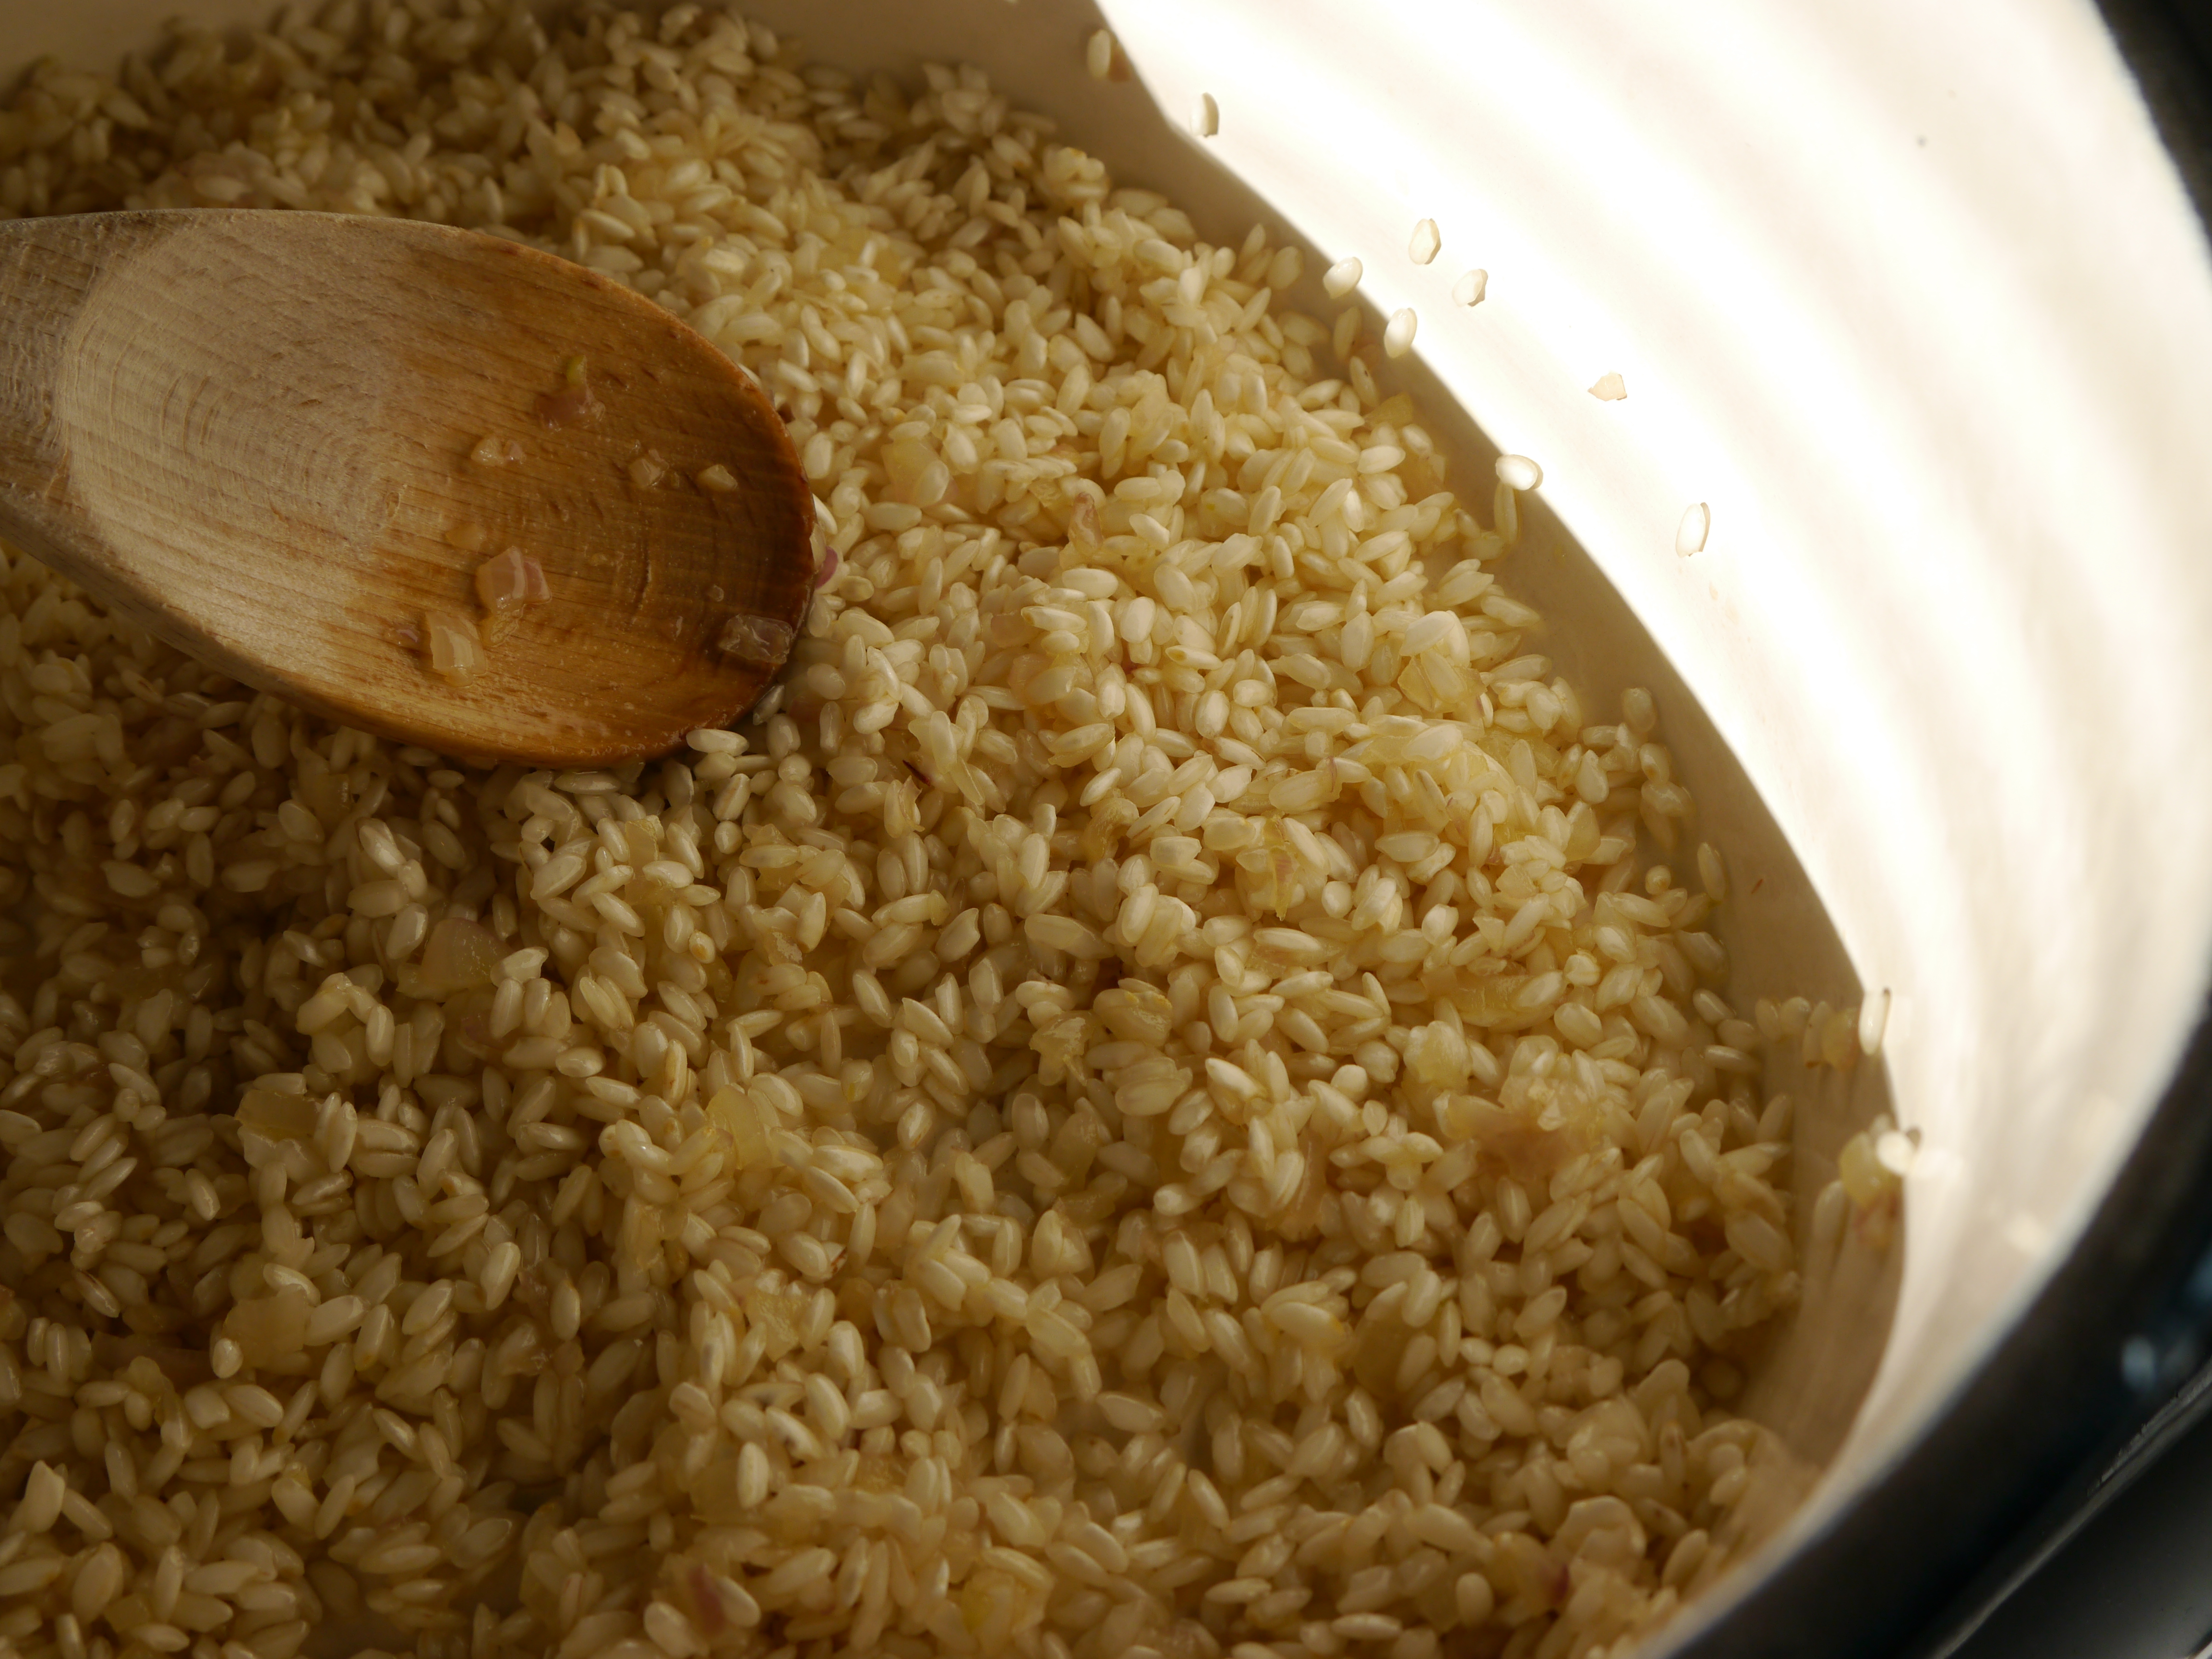
  • 1 can (15 ounces) White Beans
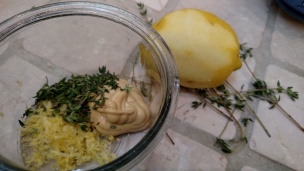
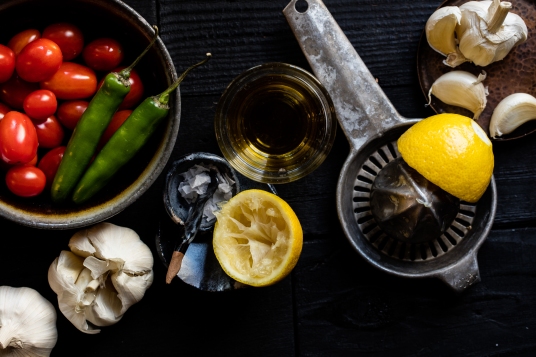
  • 4 cloves fresh Garlic (sliced)
  • 1 cup tomatoes (peeled and seeded), 1 can diced tomatoes, or about 15 grape tomatoes
  • 1 cup fresh Basil leaves
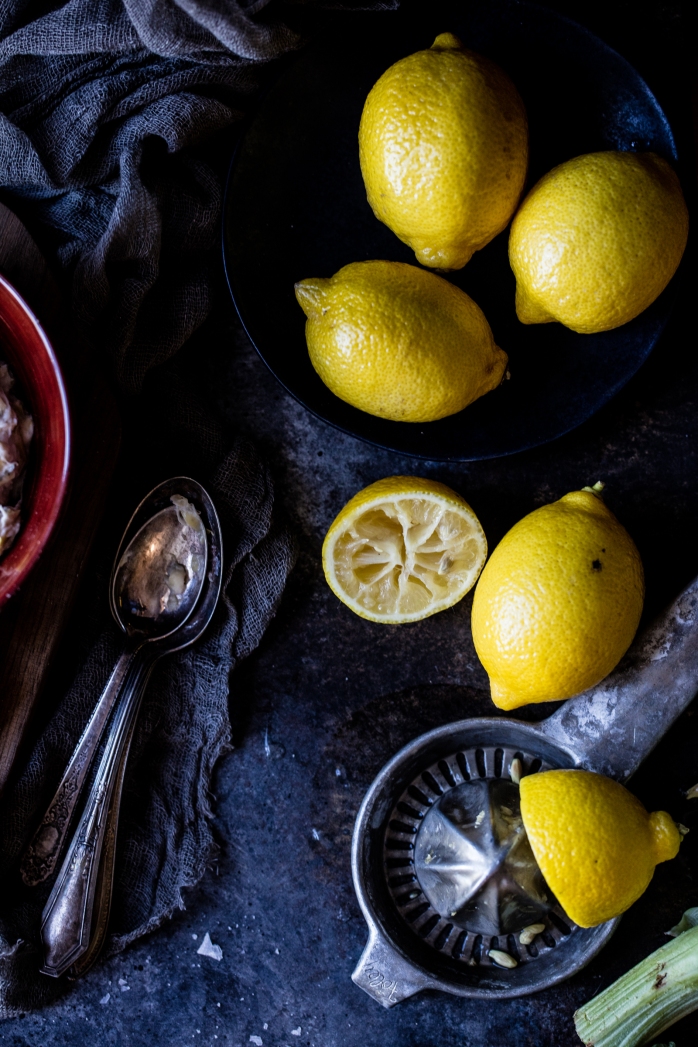
  • 1 tablespoon fresh Lemon juice
  • Salt & Pepper
  • 2 tablespoons chopped fresh Parsley
  • Olive Oil  (you can use any oil that works with your dietary needs)
  • 1 sliced Serrano Chile or Red Pepper Flakes  (optional)


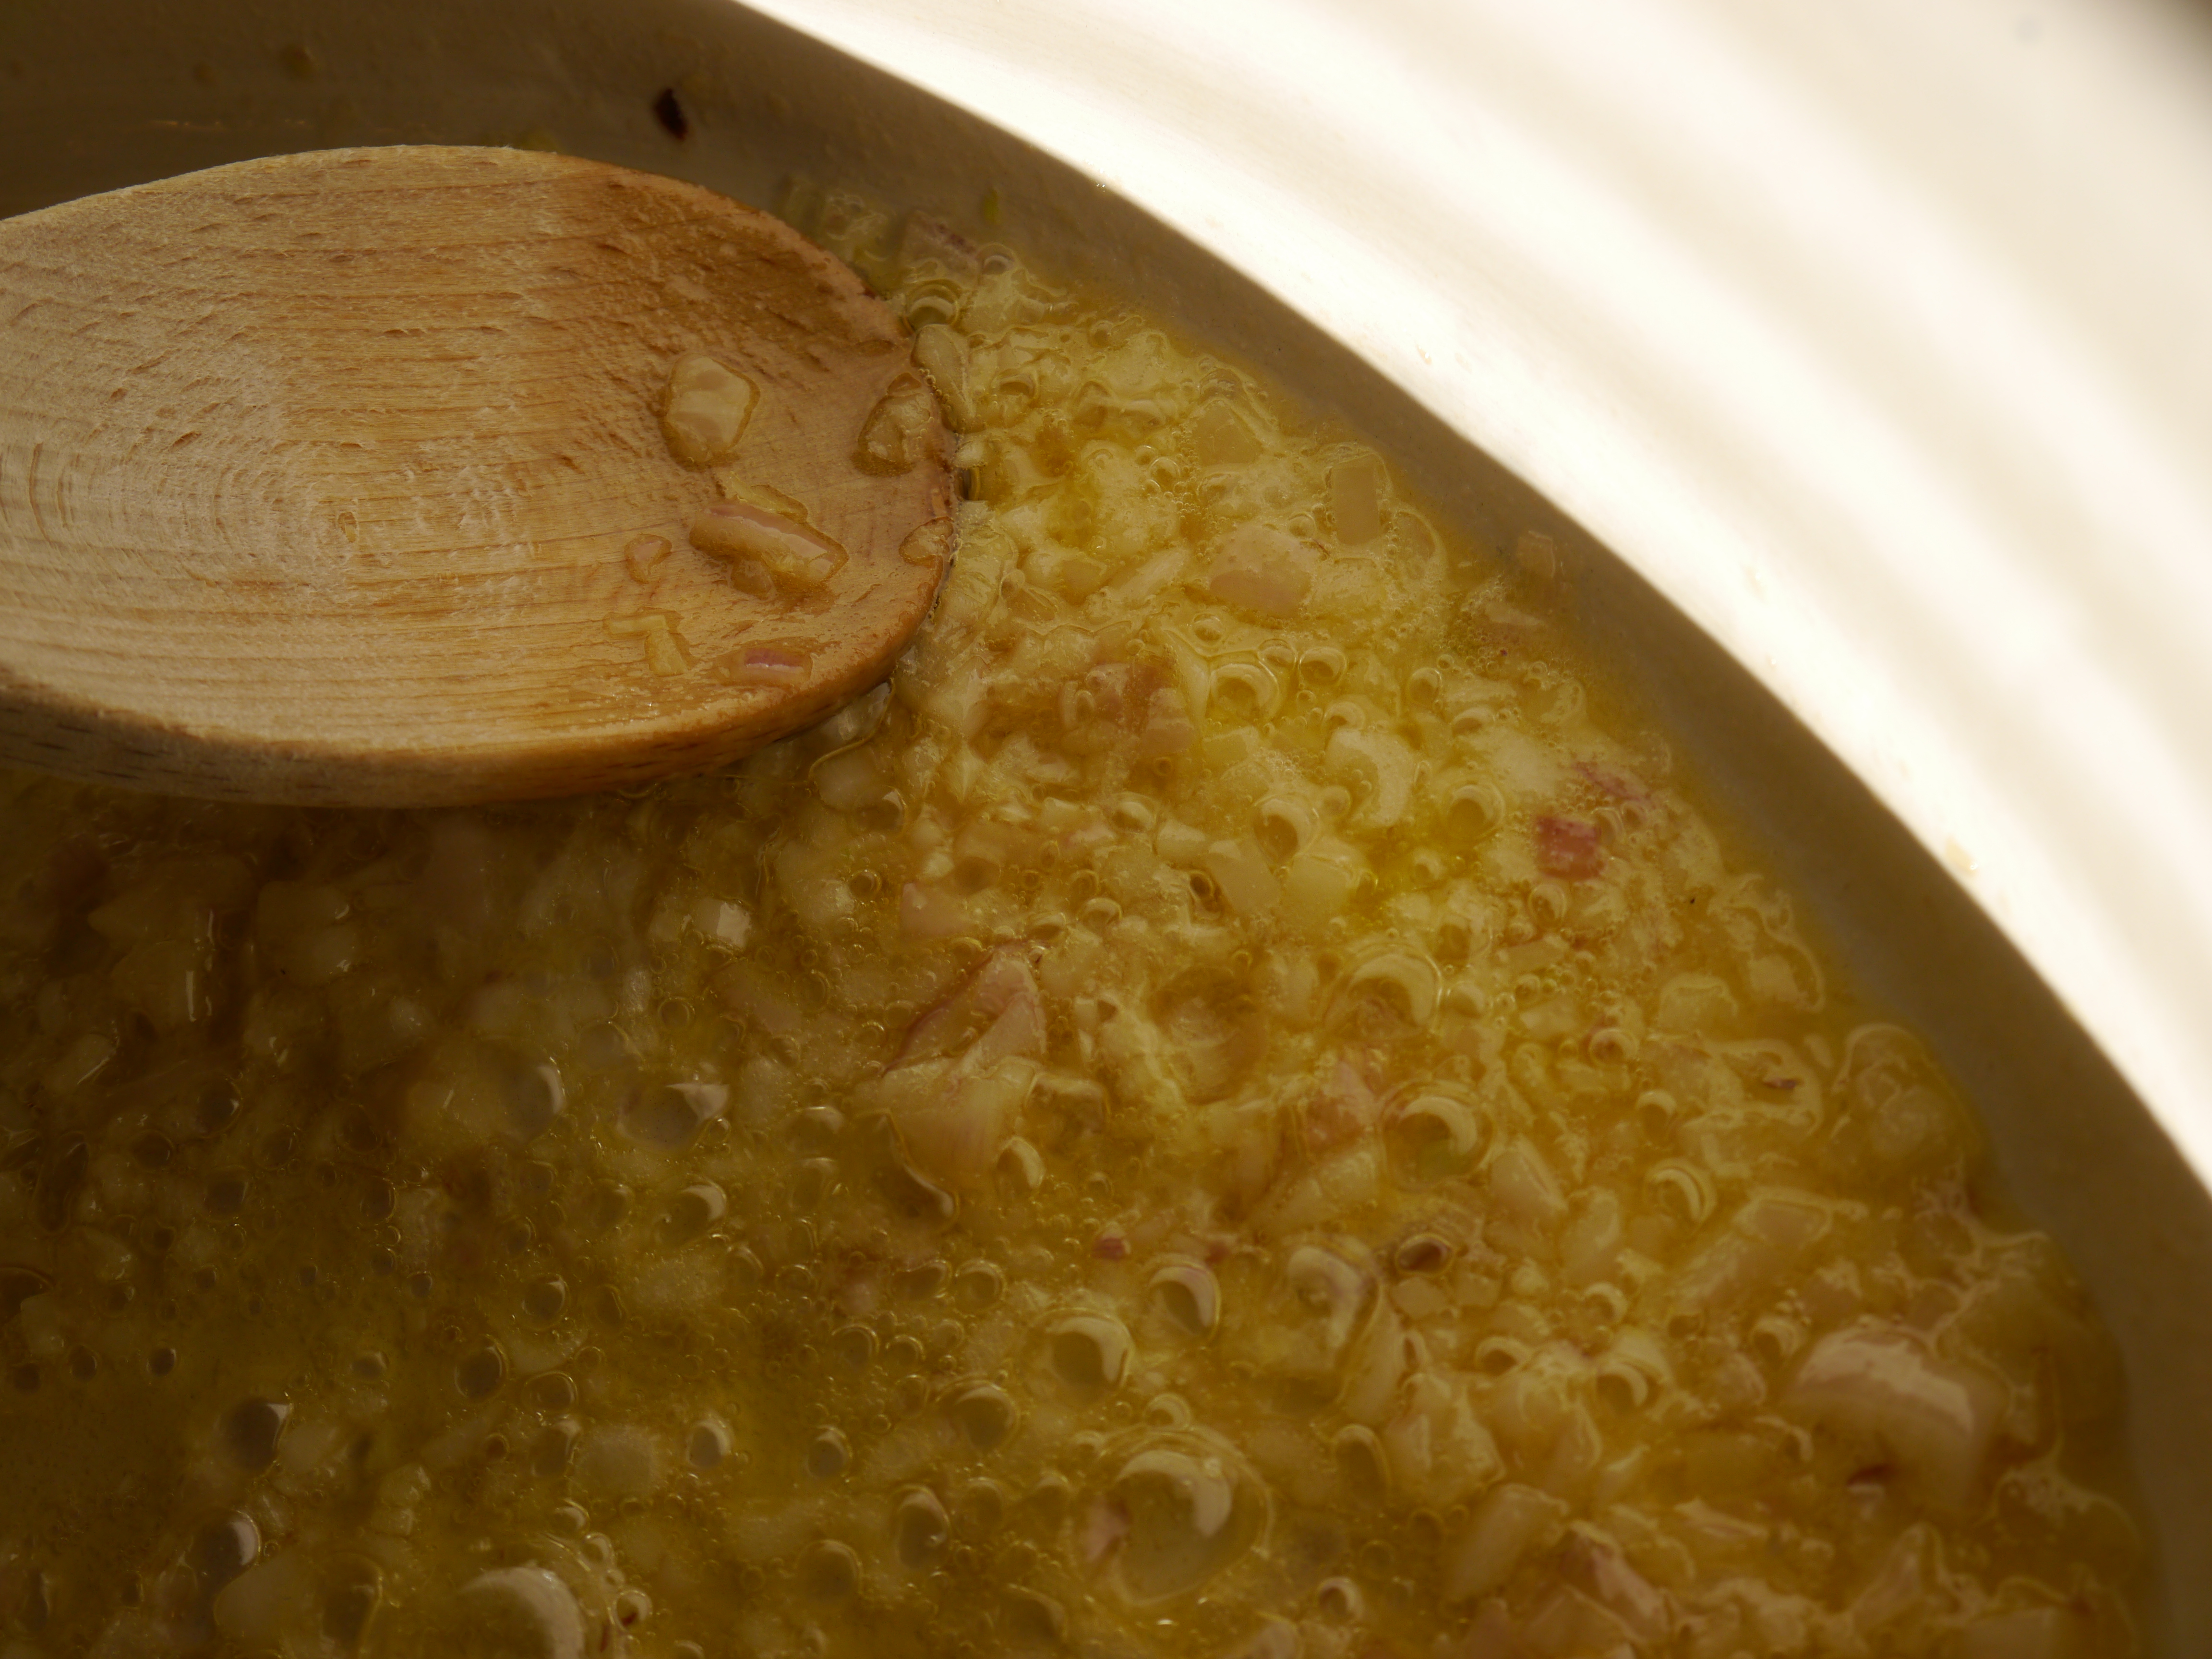
Drain the beans over a bowl and reserve the liquid. Place the white beans in a large skillet with just enough of their liquid to moisten them (about 2 tbsp).  Add 2 tablespoons of the olive oil and bring the beans to a low simmer.  Keep them warm while you prepare the shrimp.


codandcapers_grouper_reciper-1     codandcapers_grouper_reciper-5

codandcapers_grouper_reciper-10


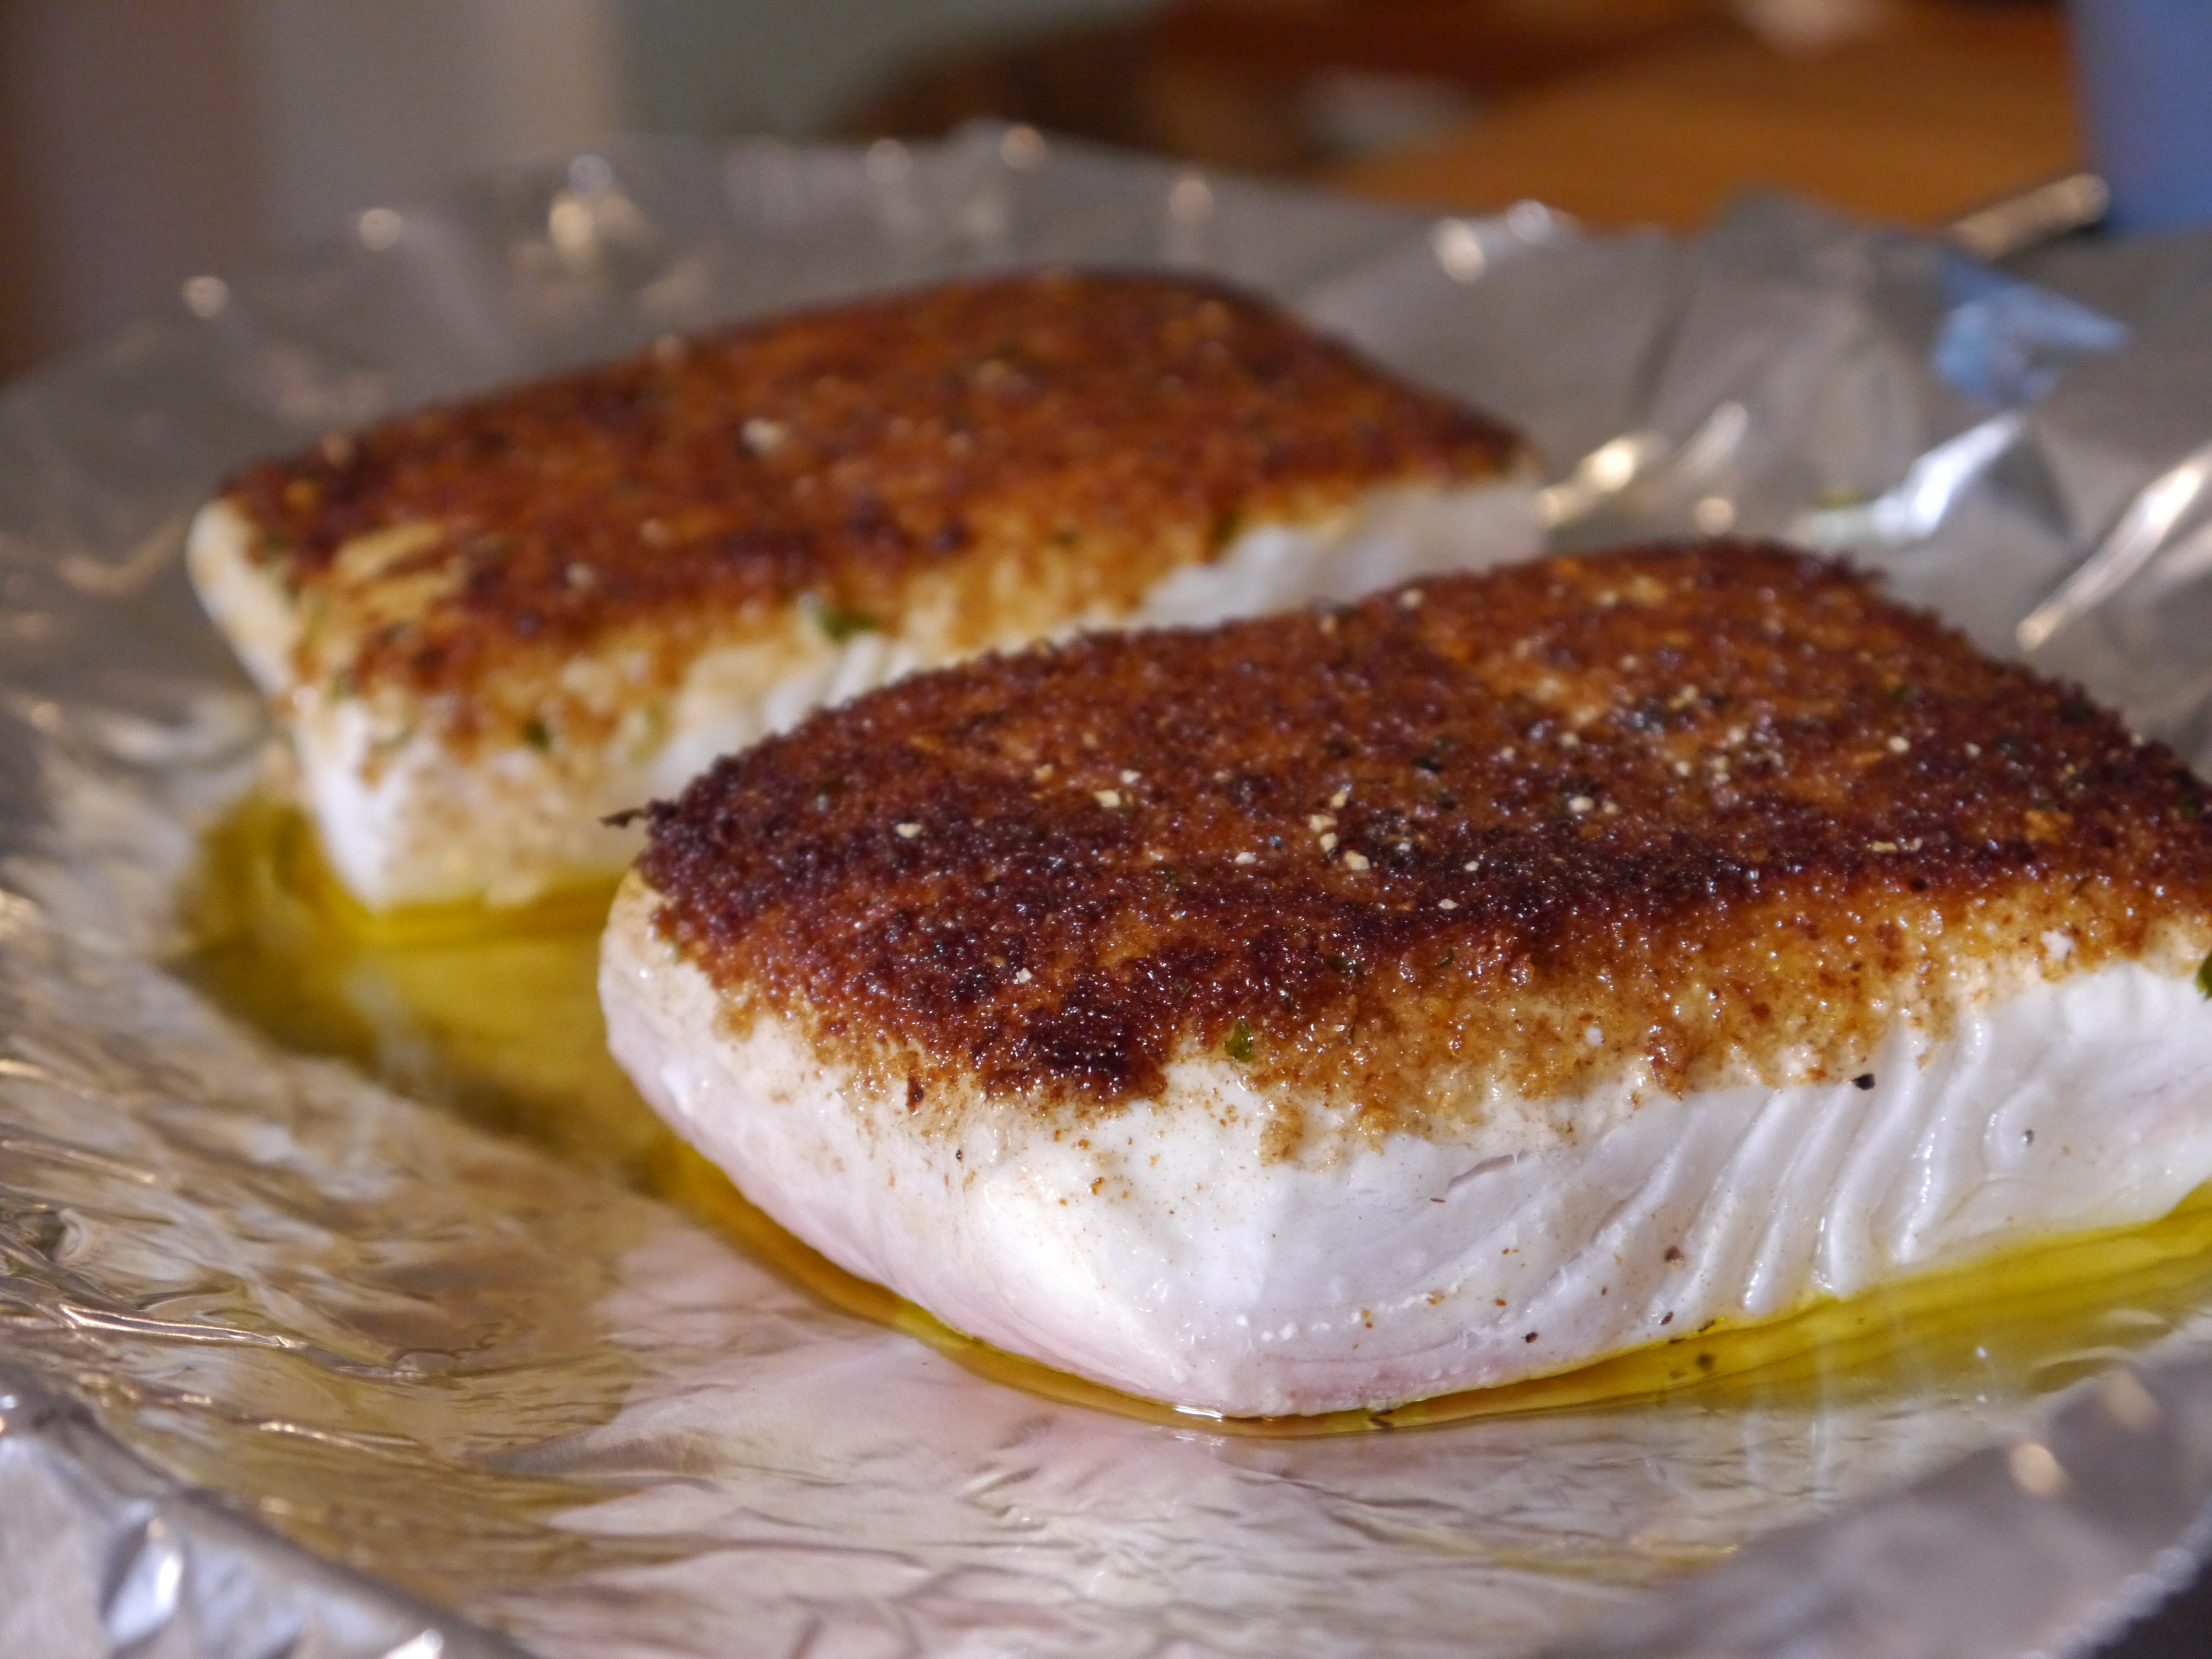
Heat 1/4 cup oil in a large skillet over high heat. Add the grouper, season with salt and sear (about 2-3 minutes per side).  Remove the grouper carefully to a plate and cover with foil to keep warm.

Reduce the heat to medium high.  Add the garlic to the pan and saute until the garlic browns, stirring frequently. Add the serrano and cook for 1 minute.  Add the tomatoes and cook one minute.  Add basil and stir briefly, then add the lemon juice.  Season with salt and pepper.  Toss well and add the grouper back to the pan to reheat the fish.

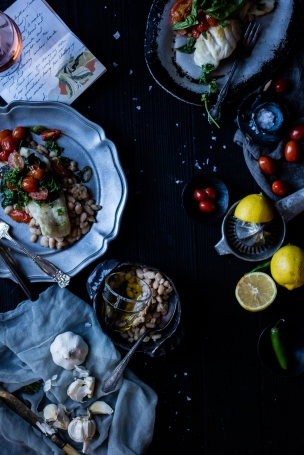
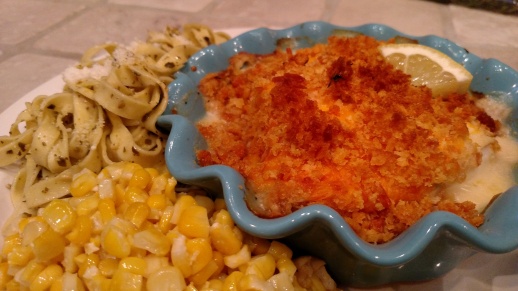
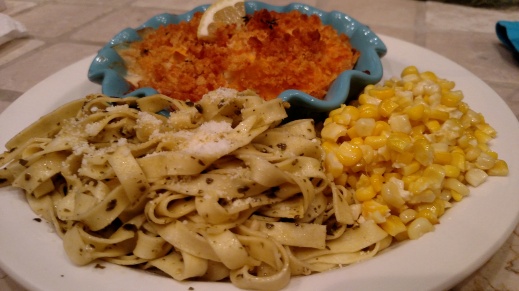
Spoon the white beans on a platter or individual plates.  Drizzle them with the best olive oil you have, and then top with the grouper and spoon the tomato-basil-pepper mixture over the fish.  Top with chopped parsley.  Serve warm.

codandcapers_grouper_reciper-2     codandcapers_grouper_reciper-7

codandcapers_grouper_reciper-4

Pink Shrimp & Pancetta Quiche

libby-quiche-1

(Photo by LibbyVision.com)

quiche-5

( Photo by LibbyVision.com )


You may remember our Crab and Bacon Quiche recipe from a while back.  This is an easy thing to pull together and it’s perfect for lunch, brunch, or dinner.  Just add a side salad or a cup of soup and you’re all set!  You can pretty much use anything you have on hand.  I had some Smoked Gouda leftover from the holidays that hadn’t been eaten and some pancetta in the fridge… you can use any cheese you like or happen to have.  I made a Pink Shrimp & Pancetta Quiche last week and our friend Libby from LibbyVision.com styled it and photographed the finished product for me!

NOTE:  For this and other savory pie recipes, I replace half of the flour in the following recipe with yellow cornmeal.  If you do not want to do this, go ahead and use 1-1/2 cups of flour and omit the cornmeal.  For this particular recipe, I used half yellow cornmeal and half gluten-free flour… which makes this gluten-free!


Basic Pie Crust:

  • 3/4 cup gluten-free flour
  • 3/4 cup yellow cornmeal
  • 1/4 teaspoon fine salt
  • 4 tablespoons cold unsalted butter (1/2 stick), cut into small pieces
  • 4 tablespoons vegetable shortening
  • 4 to 5 tablespoons ice water


Put flour and salt into a medium size bowl.  Cut in the shortening/butter using a fork or a pastry blender until all the pieces are smaller than peas and it reminds you of a wet sandy mixture.  Add the ice water one tablespoon at a time until it comes together into a ball.  If you DO opt to add cornmeal, you might need a little more water to get it to form a ball.  Just add it a little bit at a time.  Shape it into a disc, cover it in plastic wrap, and refrigerate for at least 30 minutes.  (You can do this a day ahead, too!)  Roll it out and place in your pie dish.  You can also do this in a stand mixer or food processor if you feel like washing it.  You can also just skip ALL of this and buy a prepared pie crust.

p1090144      p1090148


On to the quiche…

Pink Shrimp & Pancetta Quiche:

  • 4 eggs, beaten
  • 1 cup half & half
  • 8 ounces shrimp  (peeled, deveined, chopped, and cooked)
  • 4 ounces pancetta  (chopped)
  • 1 cup shredded cheese 
  • 1 small onion  (diced)
  • 1/2 teaspoon pepper
  • fresh thyme

Preheat your oven to 350 degrees and gather your ingredients.  I did not add salt to the quiche because the cheese and pancetta already have so much salt.

Sauté the onion and pancetta until the onions are soft and the pancetta has a little color to it.  Mix together the remaining ingredients and stir in the onions and pancetta last (so it has a chance to cool off and doesn’t cook the eggs).  Pour the mixture into your prepared pie crust.

p1090150     p1090157

p1090162     p1090165

p1090167     p1090171


Bake at 350 degrees for around 45 minutes.  As soon as the center is set (not wiggly) and it’s brown and bubbly, it’s done.  Let it sit for about 15 minutes before you slice it.  The possibilities are almost endless with this.  You can use cooked shrimp, cooked lobster, and any combination of cheeses!  Enjoy!!  We topped ours with some fresh local tomatoes and organic microgreens.

p1090177     p1090181

quiche-2

( Photo by LibbyVision.com )

quiche-2

(Photo by LibbyVision.com)

Crab Imperial

crabimperial-8

Photo by LibbyVision.com

This is a very easy, yet elegant, appetizer.  Crab (and all shellfish) just has such a special occasion feel to it.  You can easily swap the Brioche for a gluten-free bread or breadcrumb if you are so inclined.  I like to serve this in Phyllo cups or little Puff Pastry cups.  You could bake it in small ramekins and serve it next to a steak or bake a big spoonful of it on top of a piece of fish – but it makes a truly lovely appetizer.  By serving it in a little Phyllo cup, it becomes bite sized and perfect for passing around – no plates or forks needed!

We partnered up with the extremely talented Libby Vision to get this delicious Crab Imperial recipe posted just in time for your New Year’s Eve gathering!  I made the Crab Imperial and she worked her magic to create these beautiful images of it.

If you are using Puff Pastry cups, you will need to pre-bake them (leave them slightly undercooked and remove the centers once they have cooled enough to handle them).  The Phyllo cups only need to be thawed.  Set them aside while you prepare the Crabmeat mixture.

p1090129


Crab Imperial

  • Puff Pastry cups or Phyllo cups
  • 8 Ounces Crabmeat  (I used Lump Crabmeat – also called Backfin)
  • 2 Tablespoons Red Bell Pepper (diced)
  • 1 Shallot (diced)
  • 2 Tablespoons Hot Sauce
  • 3/4 Cup Cubed Bread (I used Brioche)
  • 1/2 Cup Heavy Cream
  • 1 Tablespoon Old Bay (any seafood seasoning will do)
  • Juice from 1 Lemon
  • Chopped Parsley
  • Black Pepper


I used pasteurized Crabmeat; it’s fresh (never frozen) but you could also use truly fresh Crabmeat (not pasteurized) if you can find it.  The pasteurized variety comes in a tin whereas the truly fresh Crabmeat usually comes packaged in a little plastic tub.  Drain the Crabmeat and check for shells or cartilage.

p1090086     p1090087


Place the cubed bread in a small bowl (I just tore it into small pieces) and pour the heavy cream over it.  Allow it to sit while you prepare the rest of the recipe.  I used a very delicious Brioche that we carry in the store, but you can use any bread you have on hand.  Combine all other ingredients in a large mixing bowl, being careful not to break up the Crabmeat too much.  The soaked bread should be the last thing you add to the bowl, folding it in gently but thoroughly.

p1090124     p1090128


At this point, you can refrigerate the crab mixture for use later or the next day… or you can spoon it into the cups and bake it right away.  Bake the filled cups in a preheated 300-degree oven for about 10-12 minutes.  Keep an eye on the Puff Pastry cups, if you’re using them, because they are already cooked and can get too brown pretty quickly.  Everything here is already cooked – you’re just heating it through and getting the slightest bit of color on the Crabmeat mixture.

p1090135    p1090141


Everyone will love this – it’s like a little crab cake in a cup!  And now… for the beautiful pictures of our Crab Imperial from Libby Vision:

crabs-1

Photo by LibbyVision.com

crabimperial-11

Photo by LibbyVision.com

crabimperial-10

Photo by LibbyVision.com

crabimperial-9

Photo by LibbyVision.com

crabimperial-7

Photo by LibbyVision.com

crabimperial-8

Photo by LibbyVision.com

crabimperial-6

Photo by LibbyVision.com

crabimperial-4

Photo by LibbyVision.com

crabimperial-2

Photo by LibbyVision.com

crabartichokedip-4

Photo by LibbyVision.com

crabimperial-1

Photo by LibbyVision.com

‘Cleaner’ Crab & Artichoke Dip

crabartichokedip-5

Photo by LibbyVision.com


When I think New Year’s Eve, I think of shellfish!  Crab, Lobster, Shrimp… endless possibilities.  Shellfish just feels so classy and special.  We partnered up with the extremely talented Libby Vision to get this delicious Crab & Artichoke Dip recipe posted just in time for your New Year’s Eve gathering!  I made the dip and she worked her magic to create these beautiful images of it.

Who doesn’t like Spinach & Artichoke Dip… or Crab Dip?  A combination of the two is even better.  It’s so delicious, but I’m always disappointed when I see that the recipes often contain massive amounts of cream cheese and salty, MSG-laden dry soup mixes.  Here’s a version that contains Greek Yogurt instead of cream cheese – and I subbed vegetable bouillon for the dry soup mix.


Cleaner Crab & Artichoke Dip:

  • Two 14-ounce jars artichoke hearts, drained and chopped
  • 8 Ounces Blue Claw Crabmeat (Lump Crabmeat)
  • 1 Teaspoon Garlic Powder
  • 1 Tablespoon Lemon Juice
  • 6 Ounces Plain Greek Yogurt
  • 1 Teaspoon Old Bay Seasoning
  • 1 Tablespoon Vegetable Bouillon
  • 1/4 Cup Crumbled Feta Cheese
  • 1/2 Cup Freshly Grated or Shaved Parmesan Cheese
  • 3 Tablespoons Light Mayonnaise (I used Lemonaise)
  • 2 Tablespoons Diced Pimiento Peppers
  • 1 Tablespoon Dried Parsley
  • Black Pepper


Drain and chop the artichoke hearts (I used baby artichoke hearts and I prefer the jar to the can).  Drain the Crabmeat and check for shells and cartilage.  I used pasteurized Crabmeat; it’s fresh (never frozen) but you could also use a truly fresh (not pasteurized) if you can find it near you.  The pasteurized variety comes in a tin whereas the truly fresh Crabmeat usually comes packaged in a little plastic tub.

p1090088     p1090091

p1090086     p1090087


Combine all ingredients in a large mixing bowl.

p1090098     p1090101


At this point, you can refrigerate this for later or bake it right away.  (This is where I packed half of it up and sent it off with Libby to be styled and photographed!)

p1090106     p1090105


When you’re ready to bake it, spread the dip into a shallow baking dish.  Place the dish into a preheated 375 degree oven and bake just until bubbling and lightly brown; the Crabmeat is already cooked.  Serve with Whole Wheat Pita Chips or your favorite crackers.  This recipe will be the star of the Super Bowl Party or holiday gathering, but is guilt-free enough to enjoy any day of the week.  This recipe is also gluten-free.  Enjoy!

p1090131


And now… for the rest of the photos from Libby Vision:

crabartichokedip-1

Photo by LibbyVision.com

crabartichokedip-2

Photo by LibbyVision.com

crabartichokedip-3

Photo by LibbyVision.com

crabartichokedip-4

Photo by LibbyVision.com


Southern-Style Peach Cobbler

Do you have any recipes that you DON’T need an actual recipe for?  This is one of mine.  It’s so simple and you can truly do this from memory with any fruit you have on-hand.  It’s a great go-to dessert to make for a crowd… and it’s even better with a scoop of vanilla ice cream.

This is a ‘Cobbler’, not a ‘Crisp’.  It’s a batter that rises up and around the fruit as it bakes.  It’s easy to remember because it’s all ‘ones’.  One stick of butter, one cup of flour, one cup of milk, one cup of sugar, and one tablespoon baking powder.

Southern-Style Peach Cobbler

  • 1 cup all-purpose flour
  • 1 cup milk
  • 1 cup sugar
  • 1 stick butter
  • 1 tablespoon baking powder
  • 3 cups fresh or (drained) canned fruit

Preheat your oven to 350 degrees.  Get a 13×9 baking dish or one close in size, put a stick of butter in it, and place it in the oven until the butter is melted.  While it is melting, mix the flour, sugar, milk, and baking powder together.  (I added a teaspoon of cinnamon and a teaspoon of vanilla to mine.)

Remove the dish from the oven.  Pour the batter right into the dish on top of the butter (do not stir).

IMG_20160426_173926443

IMG_20160426_173952301

Take the fruit and drop it gently on top of the batter.  Just try to get it as evenly distributed as possible, but don’t stir it.  I used organic canned peach slices because that’s what we had in the pantry.  They were packed in juice and I drained the juice from them before I added them to the dish.

IMG_20160426_174123544

Place this in the oven and let it cook until bubbling, brown, and no longer wiggly in the middle (a little wiggly is okay – runny is not).  It takes around 45 minutes depending on the size of your dish.  Serve warm.

IMG_20160426_174150498     IMG_20160426_182239920

IMG_20160426_182254565

Haddock Supreme becomes Grouper au Gratin

First things first – please excuse the horrible quality of the photos in this post.  The urge to make something new struck me at the same exact time I realized my camera battery needs a charge.  Thank goodness for high-quality cell phone cameras.

If you’re from up north, you probably know what Haddock Supreme is.  It’s something I always order in every restaurant that serves it when I’m there.  Fresh fish baked with a delicious cheesy sauce and buttered breadcrumbs.  Fish and cheese?  I know, it sounds weird, but trust me.  So many of us eat fish because it’s a healthy alternative and we always grill or sauté it.  Covering it with cheese and buttered breadcrumbs sounds like a crime, but why should chicken have all the fun?  The only catch is that I’m a Florida girl and Haddock just isn’t my favorite, so I made this with Grouper and have renamed it Grouper au Gratin.  We had fresh Snowy Grouper in the store, so I took that home for this.  Snowy Grouper is delicious and they have really pretty white spots all over them, which is how they got their name.

sstgroupsnow243a


Grouper au Gratin – Serves 4

  • 2 pounds Grouper fillet
  • 4 tablespoons butter
  • 1/2 cup all-purpose flour
  • 2 cups milk
  • 1/2 cup grated Parmesan cheese
  • zest of one lemon
  • 3 tablespoons Dijon mustard
  • 1 cup grated cheese (Cheddar, Gruyére, or anything you love)
  • 1 cup crushed crackers
  • 1 tablespoon Olive Oil


Preheat your oven to 350 degrees.  Start by spraying four small oven-safe ramekins, au gratin dishes, or small loaf pans with a nonstick cooking spray (I use coconut oil spray).  If you don’t have any of those things, you can make this in one large baking dish.  Cut the fish into 4 portions that will fit in the dishes and nestle the fish down into the dishes.  The way this fillet and the dishes were shaped, I ended up with 2 pieces in each dish… which is perfectly okay.  Gather up the rest of the ingredients you need because, once you start making the sauce, you won’t want to get too far from the stove.

IMG_20160426_183557430     IMG_20160426_184859256


Next, you’ll make the sauce to go over the fish.  This is so easy.  Just melt the butter in a medium saucepan over medium heat.  Add the flour and whisk until smooth.  Cook this (whisk the entire time) for about two minutes or until it turns a light golden brown.  It will look bubbly.  Add in the milk, whisking the entire time.  Continue to whisk over medium heat until it begins to thicken.  Whisk in the Parmesan, Dijon, and Thyme.  (I like the Dijon because it’s made with Chardonnay and it just goes so nicely with seafood!)  Remove from heat.  I did not add any salt to this because the Parmesan, Cheddar, and cracker crumbs all had salt already.

IMG_20160426_184949555      IMG_20160426_185358324      IMG_20160426_185640650


Ladle the sauce over the fish.  You want enough to cover the fish, but not so much that you’re going to overflow the dishes and have a disaster in your oven.

IMG_20160426_190044487


Top with the shredded cheese.  Toss the cracker crumbs with the Olive Oil and a little more of the fresh Thyme and sprinkle this over the top of the cheese.  Place the small dishes on a large baking sheet to protect your oven from spills (it also makes it easier to get them in and out of the oven).

IMG_20160426_190205049     IMG_20160426_190435152

IMG_20160426_191325364


Once they are browned and bubbling around the edges, they’re finished.  Mine took just shy of 30 minutes.  I was able to see the fish in a few places where it poked through the topping and could tell that it was opaque and fully cooked.

I put some fresh local corn in the oven to cook with the fish and we had some fresh pasta with pesto alongside it.  It made for a pretty easy meal.  (We cut our corn off the cob and bake it with a little bit of milk and butter – it’s the best!)

IMG_20160426_183037721     IMG_20160426_193856456

IMG_20160426_194620082

IMG_20160426_194631894


We finished this off with a Southern-Style Peach Cobbler because, if you’re covering your fish in a creamy sauce and cheese… why not?  It was a giant hit with the whole family (and how could it not be?!)

IMG_20160426_182251604

Grilled Mojo Mahi

We are experiencing an influx of Dolphin (Mahi) in our area!  Local fishermen are bringing in literal boatloads of fresh fish.  We like it best on the grill (of course, don’t forget that it makes amazing fish tacos).  Mojo Crillo is a delicious marinade made with sour oranges, onions, and garlic.  It’s a staple in our house.  It’s extremely inexpensive and it’s our favorite thing to put on chicken breast and flank steak before it hits the grill.  The citrus will tenderize even the toughest cuts of meat, so you need to be careful when you use it on fish and shrimp; it will actually ‘cook’ the fish.  I typically pour it over the dolphin about ten to fifteen minutes before we grill it.  Dolphin has a firm texture that can withstand a marinade, but most other types of fish should not be marinated for that long.

One of our little guys caught a nice dolphin on Saturday, so we dined on his favorite Mojo Mahi last night!

0423160928a


After it was filleted, we cut it into pieces that are easy to manage on the grill and placed them in a baking dish.  I poured the marinade over the fish and let it marinate for about fifteen minutes while the grill heated up.

IMG_20160424_182431503


When you grill fish, the most important things are having the grill hot and spraying it with come sort of cooking spray to keep the fish from sticking.  I grilled it for about five minutes on each side over medium-high heat.  It’s finished when it’s opaque throughout and it feels firm to the touch.

We nestled it on top of yellow rice and black beans.  We topped it with crumbled Queso Fresco, fresh cilantro, and lime juice.  Sweet plantains sautéed in butter and fresh local corn charred on the grill rounded out the meal.

IMG_20160424_202357015

Shrimp Cakes

P1080191

We had Rock Shrimp on special in the Market last week.  It prompted a conversation with a friend in which Shrimp Cakes were mentioned; I realized it had been quite some time since we have made Shrimp Cakes.  Shrimp are already so versatile and this is just one more way they can be prepared!

I used Rock Shrimp for this since they were already peeled and deveined (and they’re small, so you’ll do less chopping).  Some people may opt to put the shrimp in the food processor; I really like seeing big pieces of shrimp, so I just chopped them with a knife.


Shrimp Cakes  (Serves 4)

  • 1 pound Shrimp  (raw – peeled & deveined)
  • 2 Eggs
  • 3/4 cup Panko Breadcrumbs
  • 1 teaspoon Paprika (or Smoked Paprika)
  • 1 teaspoon Salt
  • 1 teaspoon Pepper
  • Finely Chopped Chives or Scallions
  • Olive Oil and Butter for Sautéeing


Start by making sure there are no stray bits of shell in the shrimp and roughly chopping them.  Put them in a large mixing bowl.

P1080179   P1080180


Measure the remaining ingredients and add to the shrimp.  I used Smoked Paprika in the recipe because it added a nice smoky flavor to the Shrimp Cake.  You could use Paprika, Smoked Paprika, or even a Spicy Paprika if you wanted to.  You could also substitute Blackening Seasoning or Old Bay, but you might want to reduce or eliminate the salt because some of those seasonings have a lot of salt hiding in them!  (We have been keeping chickens for nearly ten years now, but I still get excited every single time I crack open an egg and see that deep golden yolk!  Nothing beats a fresh egg!)

P1080181   P1080183


Mix until combined and make sure that everything is evenly distributed.

P1080185   P1080186


Form handfuls of the mixture into cakes.  You need to firmly compress the cakes so they hold together.  The eggs and breadcrumbs sort of act like glue to hold everything together, but they will be fragile until you introduce heat.  I made ours into six smaller sized cakes.  You want them to be thin enough that they will cook through fairly quickly, but not so thin that they will fall apart.  Heat the Olive Oil (or oil of your choice) over medium heat and then carefully add the cakes to the pan.  I cooked them for about 5 minutes on each side over medium heat.  When you see the shrimp at the bottom turning opaque and the egg is holding them together, it is safe to carefully flip them with a spatula.  It’s very important NOT to disturb them until it’s time to flip them.  Until the egg starts to cook, they will be fragile; once the heat starts to cook the egg, they’re fairly sturdy.

P1080187   P1080189


When I flipped them, they were perfectly browned and crispy!  We decided to top them with some homegrown tomatoes from the garden and more chives.

P1080191   P1080194


You could use ANY sauce with these… Tartar Sauce, Remoulade, Aioli, etc.  We all love the Mustard Sauce from the store.  We used the Mustard Sauce because it saved me some time, but a spicy mayo (Sriracha and Mayonnaise mixed together) would have been great with the smokiness from the Paprika, too!

P1080199   P1080203

P1080204


This could be EASILY converted into a gluten-free recipe with the substitution of a gluten-free breadcrumb.  You can also adjust the seasonings.  This is a very quick and easy dinner that the entire family will enjoy!


Catching up… and getting back to basics.

You might not be exactly sure what this has to do with seafood, but stick with me and you’ll see.  One of the things we push at Cod & Capers is: know where your food comes from.  Ask questions.  Eat local when possible.  Great ingredients don’t need covering up, fancy sauces, or coatings.

It’s hard to believe that it has been almost two whole years since we have posted here!  Far too much time has gone by.  We moved to a new home, joyfully accepted the added responsibilities of caring for ill and aging family members, and have been busy with life in general.  We have also sadly experienced the overall upset that occurs when a family member is faced with serious health challenges.  Life has been a little bit difficult lately and I hate to admit it, but nothing fancy (or even blog-worthy) has been happening in this kitchen for quite some time.

I might not be feeling well enough to cook extravagant meals, but I have used some of my downtime to get back to basics and teach the kids about where their food comes from.  (I apologize in advance for all the cell phone pictures.  Apparently, getting out my camera is another thing I haven’t been doing.)

We have a Meyer Lemon tree that gave us over 200 pounds of lemons this winter.  (Seriously… look at all the Meyer Lemons on this tree!)  We made everything from Lemon Marmalade to Lemon Curd (and enough Lemonade Concentrate to last two kids at least a year) and then I taught them how to can it so it stays preserved until next time the tree gives us lemons.  We even made (and canned) Salsa and Marinara Sauce from their homegrown tomatoes.  The boys have really learned a lot in the last two years.

IMG_20160130_145156   IMG_20160201_200537


Florida Strawberries are in season right now, so we made our annual batch of jam (enough to get us through until next year).  Normally, I would compost the green tops of the berries.  This year, we soaked them in vinegar and made Strawberry Vinaigrette by reducing the vinegar and adding sugar & lemon juice (the result was a ton of salad dressing from something we were going to THROW AWAY).

IMG_20160309_190028914  P1070857


You may remember from previous posts that we have kept hens (for eggs) for over ten years now.  During the last year, we added more chickens to our flock and even started hatching our own!

P1070808  IMG_20151120_151318

IMG_20160403_234535  IMG_20160318_182757459_HDRP1070757P1070724

IMG_20160403_154057  IMG_20160403_234710


Something we have been trying to remind the boys of is not to be wasteful.  A question that came up when hatching our own chicks is what to do with the males that will not be providing us with eggs.  After some thoughtful discussion, the boys decided that they would like to raise them for meat.  We are willing to give them all the experiences they are open to, so we made a go at it.  We raised the first two roosters that the boys hatched themselves until they were around 14 weeks old, at which point we decided to cull them.  Not only did this yield a completely delicious chicken dinner, but it was another excellent lesson in using ALL of what is given to us.  We used the entire animal.  I made over 8 quarts of stock with just two roosters, they ate chicken for dinner… everyone was happy.  I am thankful that they were able to experience hatching, raising, and caring for an animal before having the opportunity to see that chicken doesn’t just come from a package in a grocery store.

P1070853


My favorite way to grill chicken is to remove the backbone and flatten the chicken.  (The best part is that I got to use the backbone for stock!)  We marinated one with garlic, sliced Meyer Lemons, and fresh Rosemary.  We left the other one plain and slathered it with BBQ Sauce while it was grilling.

P1070850  P1070851

P1070866  P1070864

A meal this special called for homemade Macaroni & Cheese, Buttermilk Biscuits (with homemade Strawberry Jam), and a Spinach Salad with our Strawberry Vinaigrette.

P1070861  P1070863

P1070867

P1070872

P1070855


So what does it all have to do with seafood?  Well, not much… but the moral of the story is that it’s important to take a step back once in a while and really SEE where our food comes from.  Spend an extra hour in the kitchen making jam instead of buying jelly… even if it’s just once.  When I see how hard a fisherman has to work to bring in a load of fish or how hard an aquaculture farmer has to work to harvest just one shipment of fish or shrimp, it makes me appreciate every morsel we put on our plates.  Food is more than something that comes out of a package from a supermarket.  Whether it’s wild, farmed, or homegrown… take the time to really appreciate it and give thanks for it.  Don’t be wasteful.  We can all take a lesson from our grandparents and get back to basics.


th


Crunchy Seared Halibut over Sweet Corn Risotto with Truffle Cream Sauce

If you’re from South Florida, you know that Summer is the BEST time for local corn.  It’s absolutely unbeatable.  I’ve been known to buy a crate at a time and freeze it to have year-round, because it is just THAT much better this time of year.  Something else that is great in Summer?  Halibut!!  Since it comes from Alaska, it is not readily available year-round.  Spring and Summer are the perfect time to enjoy our Alaskan favorites such as Halibut and Wild Salmon.

P1050962


Sweet Corn Risotto

  • 4 ears of Corn
  • 1/3 cup White Wine
  • 1-1/2 cup Arborio Rice
  • 1 Shallot – minced
  • 2 cloves Garlic – minced
  • 6 cups Low-Sodium Chicken or Vegetable Stock
  • 1 tablespoon of Butter
  • 1 tablespoon Olive Oil
  • Thyme or Basil
  • 2 tablespoons of Milk or Chicken/Vegetable Stock
  • 1/2 cup grated or shredded Parmesan cheese


Start by removing the corn from the cob and gathering the rest of your ingredients.  Warm the stock over low heat – keep it on the back burner during this entire process.  When making risotto, you ONLY add hot stock to the pot… never room temperature or cold.  Make sure all your ingredients are on-hand and ready to go!

P1050966     P1050967

P1050968


Heat the butter and olive oil in a very heavy-bottom pot over medium heat (my preferred vessel for risotto is ALWAYS the Dutch Oven).  Add the shallot and cook until clear, but not browned.

P1050971     P1050972


Add the rice and continue to cook (stirring the entire time) for around 2 minutes.  Add the wine (stand back because this will produce a lot of steam).  Stir until the wine has been absorbed by the rice.  Add the garlic and stir before adding your first cup of stock to the mix.

P1050973     P1050974


You will be able to tell that the liquid has been absorbed when you can’t see any in the bottom of the pan.

P1050976


From here, you will add one cup of hot stock to the rice at a time, stirring after each addition and allowing it to cook until the liquid has been absorbed before you add more.  In the meantime, divide the corn in half.  Put half of it in the blender or food processor with a few tablespoons of liquid and some thyme or basil (whichever you are using).  I used milk, but you could use some of the stock if you were keeping this recipe dairy-free.  Blend or process the corn until fairly smooth and put it aside.

P1050977     P1050978


It takes about 30 minutes to complete the risotto.  During this time, I prepared my Halibut.  Preheat the oven to 350 degrees.  I portioned it and dipped the top side into an egg wash (one egg and a tablespoon of milk or water) and then dipped it into the breadcrumbs.  I used a seasoned whole wheat breadcrumb that I had on-hand.  I like the crust created by the breadcrumb, but I really don’t like my entire piece of fish breaded unless I’m deep frying it.  Heat some butter or olive oil in a pan over medium-high heat and get ready to sear your fish.

P1050981     P1050979

P1050983     P1050984


Carefully place the fish, crumbs down, into the hot pan and DO NOT MOVE it.  Allow it to cook for a minute or two before gently lifting the edge to check for desired ‘brownness’.  Carefully remove the fish and place it onto a prepared baking sheet crumb side up.  Transfer it to the oven to allow it to finish cooking all the way through.  How long this takes will depend on the thickness of the fish you have.  Mine took about five minutes.

P1050985     P1050986


While the fish is finishing up, go back to the risotto.  When almost all the liquid has been absorbed and the rice is almost cooked through, add the corn.  Allow it to cook for a few minutes.  Add the blended corn and allow it to cook for a few more minutes.  Remove from heat and stir in the Parmesan cheese and any additional herbs you’re using.  Cover until you’re ready to serve it.

P1050988     P1050989

P1050998


This is the point where I found myself with a few extra minutes and wanting something more out of this meal.  I decided to make a very quick Truffle Cream Sauce.  I am a chronic anti-measurer in the kitchen, so this is more of a ‘method’ than an exact recipe; you might find yourself needing a little more liquid than I suggested.  The addition of the sauce is COMPLETELY optional.  It was not necessary at all, but truffles and corn are delicious together and it really did help to tie it all together.


Truffle Cream Sauce  (Optional)

  • 1 tablespoon butter
  • 1 tablespoon flour
  • 1/2 cup Heavy Cream
  • 1/2 cup Chicken or Vegetable Stock
  • 1 tablespoon White Truffle Oil
  • Fresh Thyme


Melt the butter in a small pan over medium heat.  Add the flour and stir until it starts to become bubbly.

P1050994     P1050995


Whisk in the liquid, herbs, and truffle oil.  Continue whisking over medium heat until it has reached the desired thickness.  Done!!

P1050997


This was ABSOLUTELY DELICIOUS and worth every one of the 40 minutes I spent in the kitchen.

P1060003     P1060005